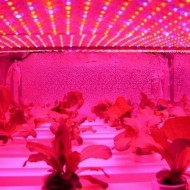
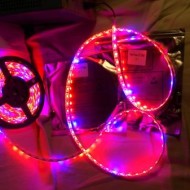
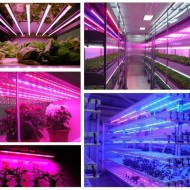
Pros of using LED strip for plant growth and development
Content
The benefits of artificial lighting for plants
For active growth, seedlings need a long day of light, which cannot be provided in early spring. Without sufficient lighting, the processes of photosynthesis are slowed down, the stem and foliage begin to wither.
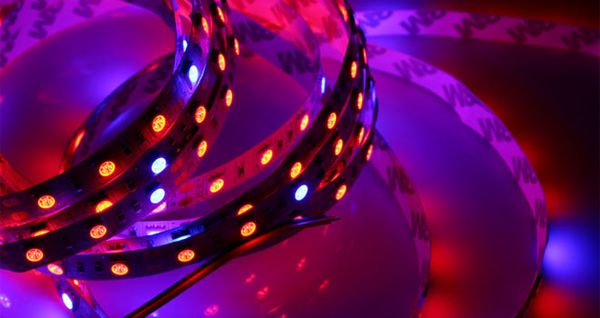
Artificial illumination helps to cope with the problem, but difficulties arise with the selection of lamps, because not any light is suitable, but only the one whose spectrum and intensity are closest to the sun. For example, yellow or white light stimulates photosynthesis, but this is where their benefits are limited. And you also need help with the formation of cells, the development of leaf plates, the formation of inflorescences.
The best way is to organize lighting using a set of LED strips with different emission spectra, complementing them with reflectors. In this case, scattered light is obtained, as is the case with sunlight in nature.
Three colors are most useful:
- blue - for accelerated root growth;
- red - for the formation of inflorescences;
- pink - complements the properties of the first two, helping foliage growth and flowering.
Video "What you need to know about artificial lighting for plants"
In this video, an expert will talk about artificial lighting for plants.
Heating up the lamp
A well-thought-out backlighting system has a limitation - a lot of heat should not be emitted, because overheating is harmful to seedlings. That is why incandescent lamps are not suitable - the bulbs significantly heat up the surrounding air in the immediate vicinity.
High pressure sodium lamps are good for greenhouses or conservatories. However, when it comes to growing seedlings at home, too much heat is emitted.
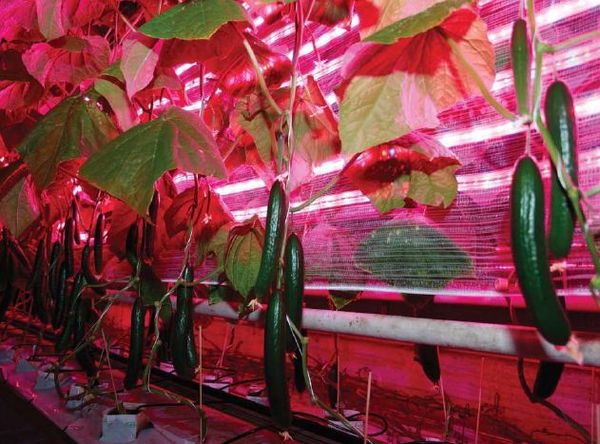
LED strips are the best solution for growing plants at home, since they practically do not heat up and are suitable for city apartments.
Emitted light spectrum
Plant chlorophyll feeds on light with wavelengths between 380 and 710 nanometers (nm), ignoring the rest of the spectrum. One part of the absorbed light activates the process of cell division, contributing to the growth of green mass; the other intensifies the flowering and fruiting processes.
There are white light LED strips with wavelengths:
- 400-500 nm (cold);
- 500-700 nm (warm).
Advantages of LEDs over other light sources
Unlike most other light sources, LEDs have a lifespan of tens of thousands of hours at a constant brightness. Also important advantages are:
Advantages:
- consumption of less electricity (incandescent bulbs, for example, exceed this indicator at times);
- reduced fire hazard;
- a small angle of illumination - 120 ° (that is, only pots with seedlings can be illuminated, and not the whole room);
- lack of flicker, infrared and ultraviolet radiation;
- the ability to select and combine the optimal colors for different crops.
There is a significant disadvantage - high cost. But having made the installation once, you can use it for years. Thus, the minimum energy costs will pay off the costs over time.
DIY LED backlight assembly
You need to start by choosing a suitable place. Do not allow water droplets to fall on artificial lighting. Then they start making phytolamps, for which they will have to:
- calculate the suitable power;
- purchase the required set of tapes;
- choose a power supply.
Let's consider these points in more detail.
Power calculation
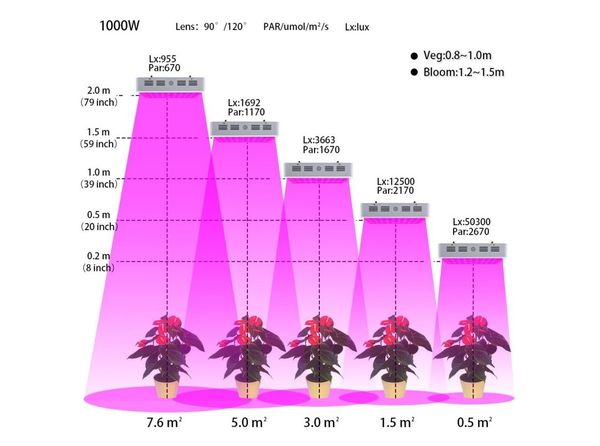
For plants to grow fully, it is desirable for them to provide illumination in the range of 10-15 thousand lux. This value is considered when purchasing LEDs.
For example, a box for seedlings has dimensions of 75x30 cm.The calculations will be as follows:
- The total area will be: 75 × 30 = 22.5 cm² or 0.225 m².
- Light intensity: 15000 x 0.225 = 3375 lumens (lm).
Having mounted the tape at a height of one meter from the box, we get the given intensity.
If you reduce the height to half a meter, according to the inverse square law, the intensity will decrease by 4 times (in our case, up to 845 lm). A suitable light strip is selected in the store for the last value.
The choice of LED strip and power supply
It will be possible to cover the entire area of the box with the help of several fragments of LED strips, the length of which coincides with the length of the box (75 cm). In the characteristics of the product, the luminous flux extending from 1 m is indicated.Since we need 75 cm, we add the remaining 25% to the indicated intensity, which will be:
- for 2 fragments: 845/2 × 1.25 = 530 lm;
- for 4 fragments: 845/4 × 1.25 = 256 lm.
For our purposes, a tape with the following parameters is suitable:
- brightness - 465 lm;
- combination of warm and cold light: 3000K + 6000K;
- supply voltage 12 V.
These are the SMD 3528-W-60led (three-meter) and SMD 2835-W-60led (one and a half meter) models.
Connecting the ribbon to the power supply
If the three-meter version of the LED strip was chosen, we have:
- 60 LEDs per meter;
- power of 4.6 watts per meter.
Also, do not forget about the 25% loss in cables. As a result, the requirements for the power supply are calculated: we multiply 3 m of length by 4.8 W of power plus 1.25 losses - we get 18 W.
The device is suitable with any housing, but with a moisture protection class corresponding to the place where it will be installed. The following scheme is used for connection: the tapes are connected to the power supply unit in parallel through connectors, the length of the continuous section does not exceed 5 m.
Lighting installation rules
Lamps are mounted over containers with seedlings. If the system is multi-tiered, attachment to the bottom of the upper tier shelf will do.
It is recommended to make the lighting system mobile. It is advisable to change the gap between the seedlings and the light source from time to time (within the range from 10 to 40 cm). For example, when the first sprouts appear, the LED strip is lowered as close as possible, and when rapid growth begins, the light source is gradually raised. For this purpose, the installation is recommended to be done on ropes, fastening them to the lintels of the shelves.
Reflectors (mirrors or foil are suitable) are mounted on the sides to diffuse the light falling from above. The duration of the backlight is selected for specific conditions. The further the unit is from the window, the longer the backlight will last.
- Lamps are mounted above containers with seedlings
- Plant LED Strip
- It is recommended to make the lighting system mobile
Plant Lighting Placement Options
To increase productivity and save space for seedlings, multi-tiered racks are built.A regular frame with shelves is made, a screen or foil fence is made to ensure round-the-clock work, and at the same time not interfere with the people in the room.
Another option is a set of miniature LEDs that are powerful enough to provide individual lighting for each crop pot. Such point devices can simultaneously function as decorative nightlights.
Consumer reviews
“I decided to grow strawberries at the dacha in a greenhouse. I immediately thought about lighting. Friends helped to collect phyto-tapes (my husband did not have enough perseverance). Now, I hope the harvest will be good. "
“I wanted to make lighting for my violets. I read the reviews, found a link to the sale of tapes, ordered. Experts advised that the brighter the better, they consulted with the color set. The result pleased me - and the flowers are beautiful, and a lot of energy is not consumed. "
The construction of artificial lighting for home seedlings does not take much time and does not cost a lot of money. As a result, the gardener manages to satisfy the needs of the grown plants as much as possible, ensuring their development, and himself in the future - with useful crops.

