Instructions for the construction of a greenhouse according to Mitlider
Content
Views
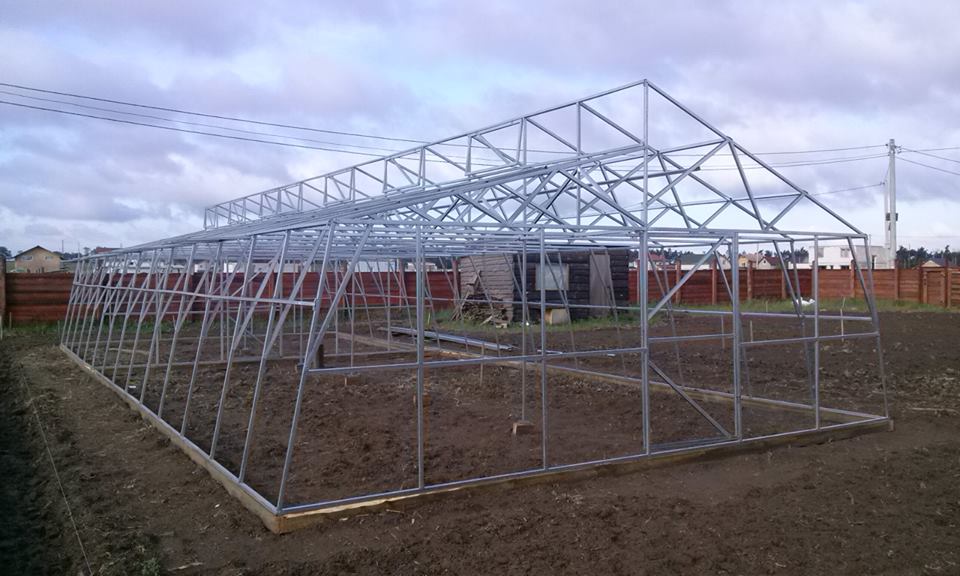
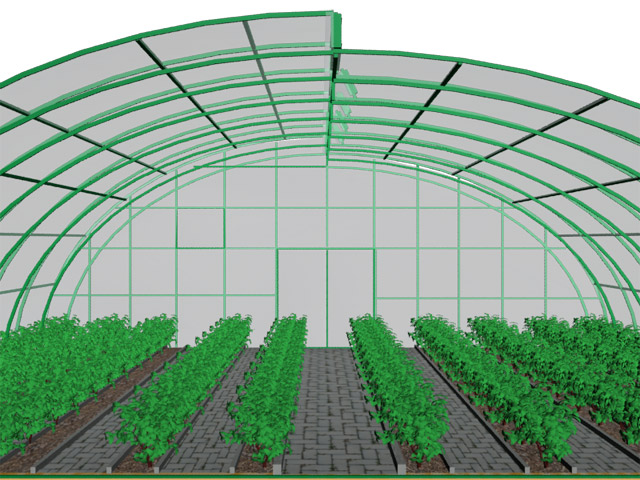
Greenhouses of this type are usually gable with high walls. However, as with any established shape, varieties appear over time, such as the arched shape. Basically, this diversity comes from trying to simplify the construction of a greenhouse with your own hands as much as possible, while preserving all the features and properties of the original to the maximum.
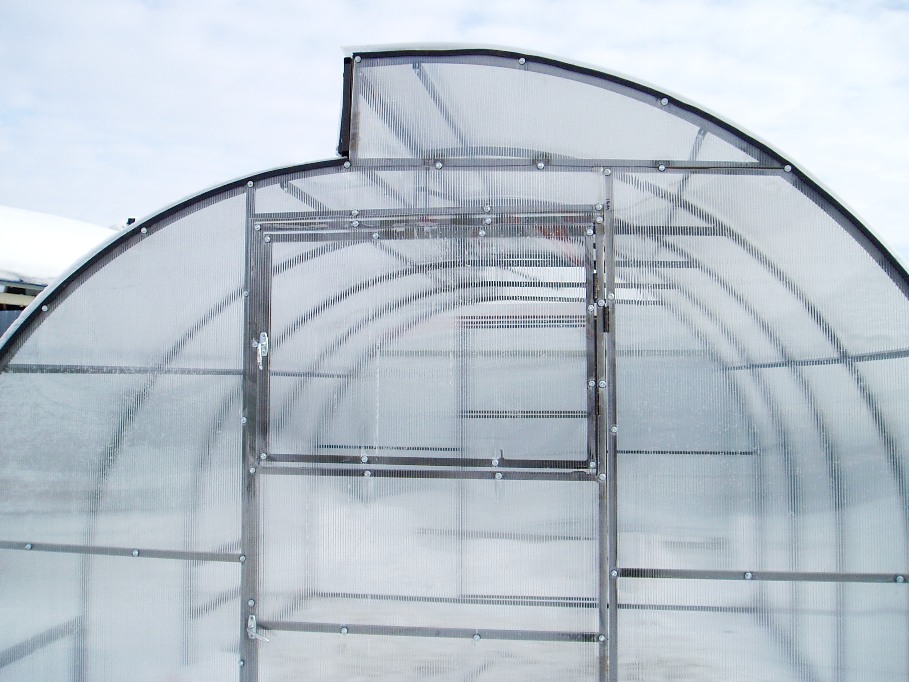
For those who are worried about the stagnation of warm air under the roof (which is typical for arched structures), the craftsmen have already come up with a third option - with two transoms. In this version, ventilation is more ergonomic - cold air does not stagnate, mixing with warm air, and naturally quickly spreads over the entire area of the building.
In fact, the types of mitlider greenhouses are sorted by quality and ventilation method. Otherwise, the frame and the covering are built according to the same scheme.
Advantages
The main advantage of the Meathlider design is the roof, which is divided into two levels, each of which is equipped with an air vent for improved ventilation. The ventilation is designed in such a way that air is available along the entire length of the greenhouse. Good ventilation is the key to healthy plants. The greenhouse drawings are built in such a way that the ventilation vents are oriented to the south, which means that only warm air gets inside.
The overall strength of the frame helps it withstand all the delights of the weather: hail, snow, heavy rain, strong wind. This reduces the cost of repairing and restoring the greenhouse at the beginning of the new season. At the same time, if you are afraid for the safety of the structure, it is easy to disassemble it, fold it in a protected place, and reassemble it next year. Also, the shape and material for making the frame (wood) prevents the formation of condensation.
The beams, which are located under the roof itself, help in the work: even standing up to your full height, you will not touch them with the top of your head, but at the same time they can be used to tie up plants.
The greenhouse area is 12x6x2.7 m, that is, quite large. This is what plays a decisive factor in maintaining a stable temperature inside the room, even with a sharp drop in it outside.
Device
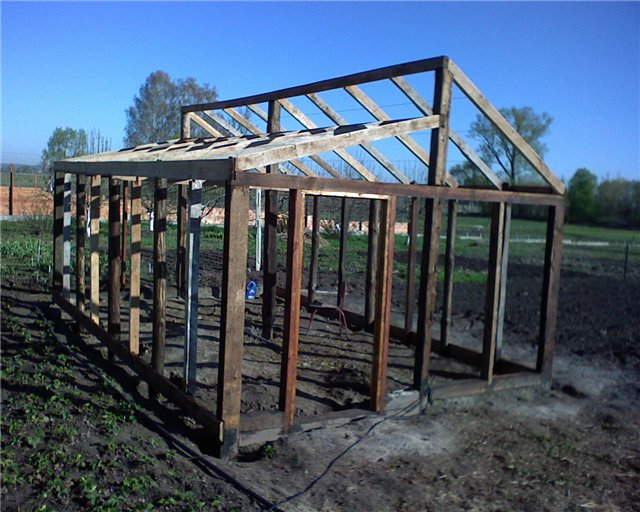
First of all, greenhouses according to Meathlider are appreciated for the unusual shape of the roof. It is quite rare to find a gable roof that does not converge to one point, but, on the contrary, is located on two levels. Thus, the different degree of inclination of each slope is also regulated, since there are two support beams for the roof. The northern slope is the highest, the southern slope is as much as 45 cm lower, which makes it possible to create such a convenient ventilation system.
The transom (window) is made of polyethylene, fixed on wooden slats, the degree of its opening can be adjusted independently. Moreover, it opens to the inside of the building, which regulates the supply of fresh air.
For the coating, not only polyethylene is used, but also any other materials, depending on your wishes and capabilities. So, a combination of polyethylene, polycarbonate and glass is often used.At the same time, the original design drawing - with two balls of the film covering, the distance between which is 5-7 cm, is still the most effective way of arranging such a greenhouse.
Video "Greenhouse Mitlider"
The author of this video talks about his configuration of the mitlider greenhouse.
Step by step guide
In order to build a greenhouse according to Meathlider with your own hands, you will need:
- calculations and design drawings;
- wooden beams with a section of 10 cm and a length of 3 m;
- wooden beams with a section of 75x50 cm;
- wooden beams with a section of 50x50 cm;
- self-tapping screws;
- 5 rafters 1.9 m each;
- 5 bars 32.7 cm long, with cut corners;
- 5 triangular wedges 50x50x50 cm;
- polyethylene film.
- Focusing on the drawing, outline the outline of the future greenhouse on the ground. Lay 3-meter beams along the basting, connect their corners with self-tapping screws. Check the level of uniformity of the assembly.
- We proceed to collecting the side walls (the longest) with our own hands. At the end of the assembly, check that their diagonal is equal, then fix them on the base with self-tapping screws.
- Join the 75x50 cm beams to form the end walls. The uprights are spaced 70 cm apart to form the doorway.
- We create windows. The window frame in this design has an angle equal to the roof - 30 degrees. Assemble and fit 2 windows, fix them to the structure.
- For the manufacture of the door, beams of 50x50 cm are assembled on self-tapping screws, fixed with plywood stakes. We fix it on the frame.
- We start assembling the roof with our own hands. Place the rafters on the ground, measure the distance between the extreme points, it should be 2.4 m.Nail in the triangular wedges at intervals of 50 cm.When ready, fix the rafters on the top of the frame - first 2 side ones, then the remaining 3 at the same distance from each other. Secure each rafter with self-tapping screws. Install transoms.
- Having checked and measured the frame, we proceed to fixing the film with our own hands. Secure each film segment securely with thin sticks. Having secured the cover outside and inside, proceed to planting.
Video "Construction of a universal greenhouse according to Meatlider"
Video tutorial on how to build a greenhouse structure according to Meatlider.

