Budget project: we build a pond from an old bath with our own hands
Content
Construction features
In order for a decorative reservoir to meet your expectations, it is important to perform all work in compliance with the technological features of the process. So, if your bathtub is not cast iron, but lighter, metal, it will need to be additionally strengthened in the pit in order to give the structure the necessary rigidity. In addition, you will have to prepare the inner surface of the container - paint it dark or blue, depending on the desired shade of water. At your request, a small decorative fountain can be installed in the pond. All this should be thought out in advance in order to carefully plan the step-by-step sequence of the upcoming work.
Video "Pond from an old bath, made with your own hands"
From this video you will learn how to make a pond from an ordinary bath in the country with your own hands.
Work order
The first thing to start with is choosing a suitable place to place a pond in the country. Of course, it is better if it is a location next to a place of constant rest - a gazebo or an arbor. It is also important to evaluate how sunny the selected site is. It is important that the sun does not shine on the pond all the time, leaving it in shade for about half a day. You should also not equip a pond from an old bath in the lowest place, otherwise it will constantly be polluted by groundwater.
Getting started, prepare all the necessary tools and materials: sand, crushed stone and cement, a shovel, a construction mesh, several spatulas, waterproof glue, a bucket, a building level and, of course, the bath itself. To make it easier to take out the earth after digging a pit, you can find a garden wheelbarrow.
Bath preparation
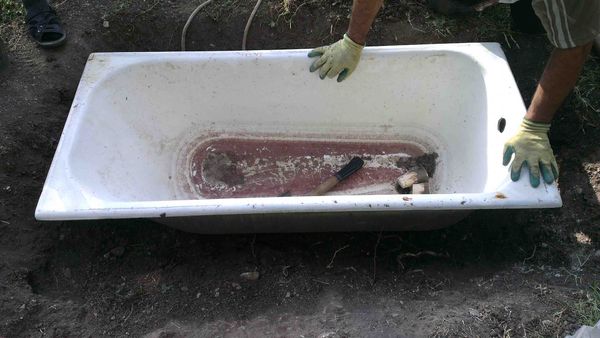
The bathroom needs to be given the desired color. Agree, there will be little beauty in the fact that through the transparent water all the cracks on the boring white enamel of the bottom of the improvised pond will be visible. To make the container more natural, it is painted in the desired color or covered with a special film. In addition, it is first necessary to cement the drain hole located in the side of the bath.
Digging a pit
While the treated tub dries in the sun, you can start digging a pit under it.
Think over the shape of the pit in advance - it should correspond to the shape of the container. To do this, you can put the bath in the chosen place and mark the boundaries of the future foundation pit. Now you can remove the top layer of turf and dig a hole.
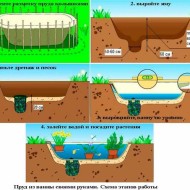
After installing the bath in the finished pit, its sides should be about 30 cm below the edge of the pit - be sure to take this rule into account when controlling the depth. In the place where the drain is located near the bathtub, it is necessary to ensure the presence of an additional depression - there will be drainage.
Now we equip the drainage itself: we roll up a sheet of tin in the form of a funnel and fill it with gravel 15–20 cm above the level of the bottom of the pit. This will make it easier for you to drain the water from the pond during the autumn-winter period.
Now we cover the bottom of the pit with a small layer of rubble and fill it with sand, carefully tamp and take out the funnel.
Bath installation
In the places of the pit, where the corners of the bath will be, we install several bricks each and lower the container on them. It is important that the drain hole on the bottom of the tub is aligned with the drainage hole. To properly position the bath, you will need a winch and a few pairs of strong hands. Now you need to align the bowl of the future pond so that its sides are located exactly relative to the upper edges of the pit.
Pour moistened sand between the walls of the bath and the edges of the pit, carefully tamping it. This completes the main construction stage - the bowl is installed and secured. Now you can move on to the internal arrangement of the pond.
Decor
On the sides in the bath we install a special mesh made of metal, coat it with a solution, inserting pebbles in some places - this is how the bottom of the pond will look natural. Armed with a coil of dense wire, you can make decorative rings from the mesh, from which you will equip thresholds and steps for aquatic plants, while making the outlines of the reservoir asymmetrical and natural.
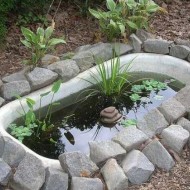
We also remove the sod around the installed bath and lay a metal mesh. Thoroughly coat it with a solution of cement and sand, leaving a small strip along the sides of the plant bowl, fill the rest with large decorative stones, fixing them in a fixing solution.
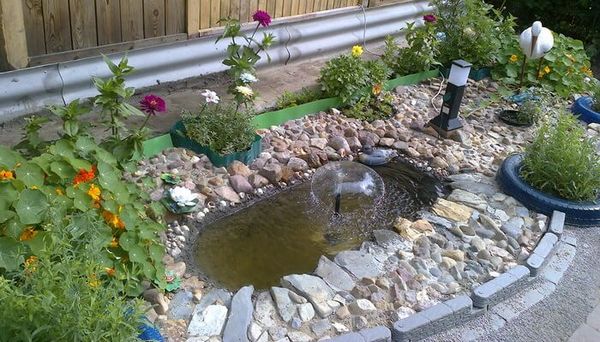
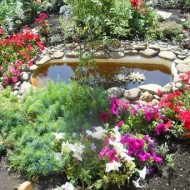
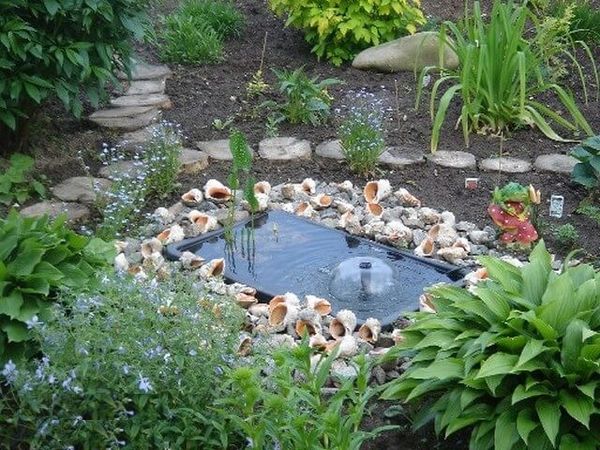
Now you can start filling the pond with water and decorating. Plants play the main violin in the design - dwarf water lilies and decorative lilies are suitable, even an ordinary duckweed from the nearest natural reservoir looks picturesque. Perennials that prefer increased moisture can be planted around the pond, and the composition can be supplemented with garden figures - animals or fairy-tale characters.
Pond with fountain
The pond from the bathroom itself is a real decoration of the garden. But it can be made even more attractive by equipping a small fountain. This will require a conventional pump. An old aquarium filter of sufficient capacity can be adapted for this purpose.
Be sure to consider the availability of power supply - the wires must be hidden from prying eyes or carefully decorated.
Don't be afraid to make bold decisions. Making a pond from the bathroom is not at all as difficult as it might seem. In addition, this decoration does not require significant costs, but it looks really amazing.

