What to make the floor in the gazebo: photo ideas and step-by-step execution
Content
Features of the floor device
In order for the floor in the gazebo to serve for a long time, while maintaining an aesthetic appearance, you need to take a responsible attitude to its installation.
Each coating has its own requirements. In the case of an adobe surface, ordinary soil is enough, for decking - wooden logs, for tiles you need a good concrete screed.
Much depends on the design of the gazebo. For a simple welded structure, it is enough to fix the flooring to the frame. If you want a more reliable option, it will take more money and time.
It is advisable to lay the floor in the gazebo immediately after the construction of the foundation. A "platform" is created that covers the entire base area. Usually, a columnar foundation is chosen.
Video "Do-it-yourself floor-platform gazebo"
From this video you will learn how to make a wooden floor platform for a gazebo with your own hands.
Materials (edit)
The most common flooring materials are:
- Wood. It is chosen for its low price and easy installation. The lags are attached to the lower harness, then you can start the main work process.
- Paving slabs or stone. They are incredibly durable, they look attractive, but they are not cheap and also require a concrete platform.
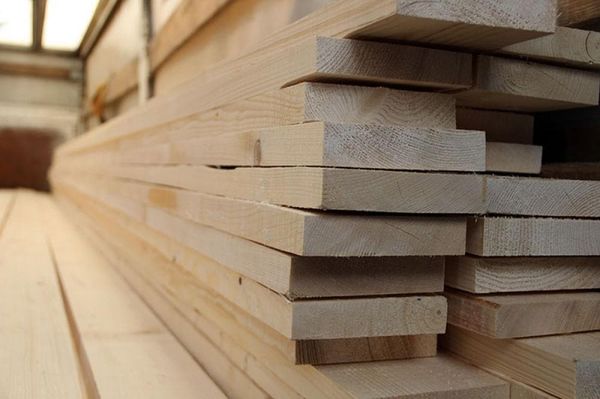
- Edged board. The most affordable option.
- Cuts of a tree. They look original, laid on the floor, filled with mortar and varnished.
- Decking made of wood-polymer composite (WPC). Rectangular or square deck boards. The connection of the components is similar to a laminate. Plastic serves for a long time and is unpretentious in care.
- Oriented strand board (OSB) is multilayer, reliable, durable and inexpensive.
- Cement particle board (DSP) is a practical material that allows you to avoid pouring concrete into the floor. DSPs are stacked on logs, an even and hard coating is obtained.
Concrete screed is sometimes considered a separate category. It acts more as a base for the floor. Nevertheless, some users appreciate the reliability and durability of such a coating.
Technology
It is quite possible to make a floor with your own hands. You just need to draw up drawings, stock up on material and tools. The working algorithm is formed depending on the conditions of the territory and the design of the gazebo. It is best to lay the floor on a concrete foundation. There are situations that are easier when the coating is installed simply on the frame.
Wood covering
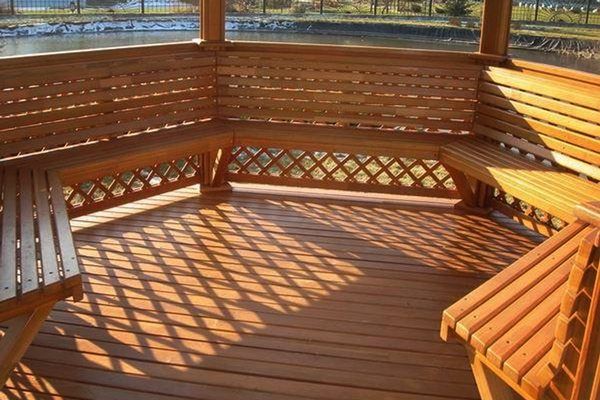
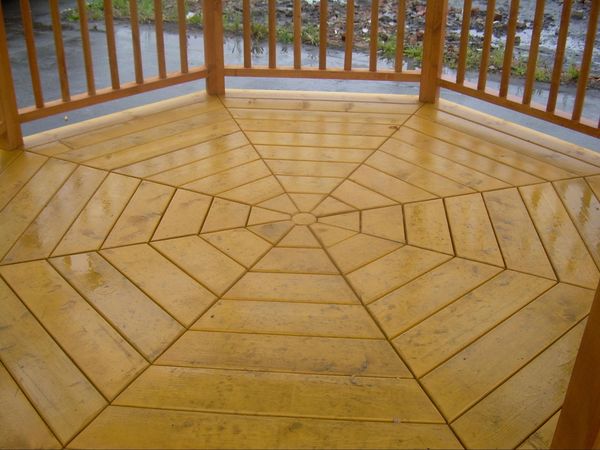
Wood coatings are the most popular. Such a flooring looks great, is inexpensive, and does not cause installation problems. If you follow the installation step by step, you will save time and minimize errors:
- We make the top harness.
- We lay logs and wooden beams. We fix the structure - bolts are suitable for this. For a stronger connection, we recommend the use of brackets.
- We lay floorboards. It is better to choose components that are not too thick.
- We process the material. Use an antiseptic. For prevention purposes, such protective measures must be done at least twice a year.
As a decorative finish, cover the flooring with varnish or paint.
Concrete screed
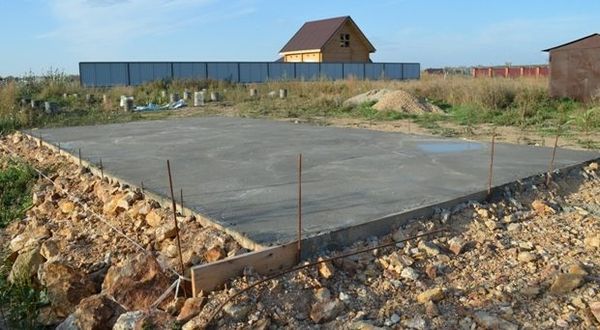
This option will ideally fit into the conditions of a massive veranda in the country. Often, a concrete screed can be found in gazebos with barbecues. The coating easily withstands high loads, does not cause trouble in operation. Often a concrete screed is used as a base for further flooring.
Usually, the concrete coating in the alcove is made in the form of a screed along the ground inside the strip foundation. Let's look at this in more detail:
- Remove the top layer of soil inside the strip base. It is desirable that the surface is flat.
- We fill in a layer of sand 15 cm thick. Thoroughly ram it. We fill in a layer of crushed stone - about 10 cm. We also compact it.
- Along the perimeter, from the inside of the foundation, we install a damper tape, which will maintain a gap of 2 cm. In addition, it will allow the concrete to become wider, avoiding the appearance of cracks.
- We put a reinforcing mesh on the crushed stone, the floor needs to be poured with concrete.
The optimum screed layer is 4–6 cm. Fill it to the level of the base or slightly below.
Paving slabs
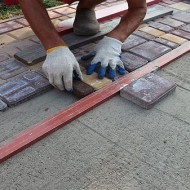
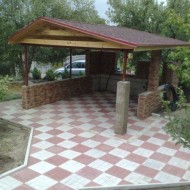
An excellent choice if the priority is the elegant look and durability of the material. To lay the tiles on the floor, first remove the topsoil, make frames where the components will be placed. For convenience, concrete curbs are erected or laid inside the strip base.
Step-by-step instruction:
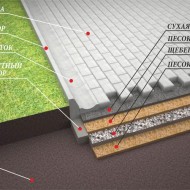
- Pour a 5 cm layer of sand and level it. We water with a hose, ram.
- We prepare a dry mixture of sand and cement. We fall asleep on top of the previous coating. The optimum layer thickness is 4–5 cm. We distribute the mixture with a rake.
- We pull the thread to the desired mark - this will be a guideline when laying.
- We lay out the components, starting from the corner. This will avoid surface deformation.
- For a tight fit, each tile is rammed using a rubber mallet.
- When the solid tiles are laid, we mount the remaining fragments. Most likely, you cannot do without pruning, for which use a grinder.
- Check the surface for unevenness. If any are identified, we shift the curved pieces. Finally we ram the surface of the tiles.
- We seal the seams with dry cement-sand mortar.
- Wash the surface, wait until it dries. Remove building material residues.
Sometimes, as an alternative to tiles, lay out a floor of stone or paving stones. It looks beautiful and natural. But it is rather difficult to work with such material, it is difficult to select fragments.
A budget option
To save on construction costs but get decent flooring, it is best to use edged planks. Among the features of this budget option:
- Wooden chocks act as a foundation. We dig them in at the corners of the gazebo, pull the twine according to the level.
- To tightly fasten the harness boards, we cut off the rounded part of the stumps from the inside with a chainsaw. They should be flat.
- We nail a couple of planed boards to the wooden posts.
- We attach the second pair of strapping boards to the corners.
- The ends for good joining should be flat.
- We lay the boards on the logs. Use a miter saw or jigsaw to correct the fragments.
- From above we fasten the boards with self-tapping screws.
It turns out to be inexpensive but decent flooring. For additional protection of the material, treat it with an antiseptic.
As you can see, you can make the floor in different ways. The main thing is to choose high-quality material and install it correctly. You can cope on your own. Draw up a project, calculate the material and prepare the tool. Doing everything step by step, you end up with a beautiful and reliable flooring.

