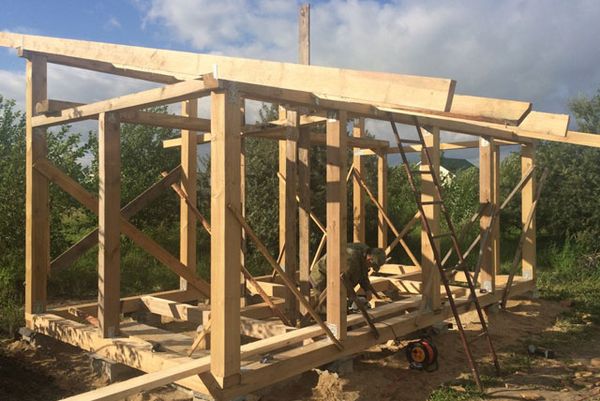
Simple and stylish: a gazebo with a pitched roof
Content
Selecting the type of construction
Before starting construction, you need to figure out what kind of future construction should have. Gazebos are:
- open;
- closed;
- half-open.
In open structures, the space between the supports is not sewn up with anything. The use of such a gazebo will be convenient in the summer or in the southern regions of the country. Closed ones are built for winter pastime, they are completely sheathed. The lower part with finishing materials, and the upper part is glazed. Semi-open is the most popular type. The lower part is sheathed, while the upper part is left open or decorated.
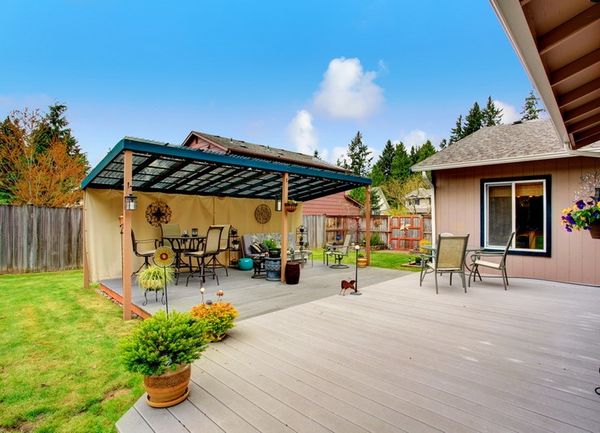
Usually, the gazebo is installed in a separate cozy place in the suburban area so that its appearance fits into the landscape of green spaces. For ease of use and an increase in the covered space, there are structures attached to the main dwelling next to the house.
Video "Gazebo with a pitched roof with your own hands"
From this video you will learn how to build a gazebo with a pitched roof yourself.
Review of materials
The gazebo can be built from:
- wood;
- metal;
- polycarbonate or other polymeric materials.
The metal structure will look elegant, especially when decorating its sheathing with elements of forged products. Using polycarbonate will make the building feel airy. Color design will add originality and brightness to the structure.
Having chosen a timber convenient for installation, we determine the type of material of the wooden sheathing:
- profiled;
- glued;
- rounded.
It is not at all necessary that the entire building be made of the same elements. Combining different materials will allow you to combine their properties and get the desired look of the gazebo.
Simple construction on your own
Having determined the place and material of the future building, you need to complete the project. It should contain drawings of each stage of the construction of a rectangular structure, which we will do with our own hands. If it is planned to equip the gazebo with barbecue, then we will definitely reflect this in the project.
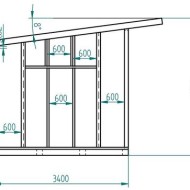
When designing, it is important to correctly set the slope of the pitched roof. If the building stands apart, then the slope of the roof is usually done in the direction of the far wall from the entrance. And if the gazebo is attached to the cottage, then the slope must be made to the side opposite to the structure, regardless of which side the entrance to the extension will be.
Between the house and the flat roof of the gazebo, water should not seep out during precipitation. The angle of inclination of a pitched roof depends to a greater extent on its design and material (at least 3 °).
To complete the work, you will need the following tools:
- shovel;
- carpentry set;
- measuring and marking devices;
- screwdriver.
The foundation
Let's consider step by step each stage of the construction of the gazebo:
- We mark the selected place for the foundation. For the gazebo, we select the columnar type of frame.
- We dig holes 30x30 cm in size and 45-50 cm deep at a distance of about 1 m. We fill the lower part with gravel and sand 5-7 cm.
- We install formwork around the perimeter of each hole and fill it with concrete. We make the height of the columns at least 10 cm from the ground. In the upper part of the support, we install a hairpin or a metal plate for a rigid connection with the lower frame strapping.
- After the concrete has hardened, we remove the formwork and check the correspondence of the height of each of the supports. Align if necessary.
The foundation needs to dry for at least 3 days.
Support
While the skeleton is drying, we will prepare the timber for the frame of the future structure. It is made from a square bar with a section of 100x100 mm or 150x150 mm. Depending on the size of the future building, we take one of these profiles and continue construction:
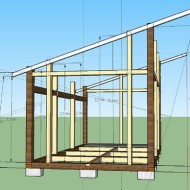
- We install the beams of the lower frame, connect them together using the thorn-groove method, then fasten them with staples.
- At the junctions with the foundation, we drill holes for the studs or make recesses for the plates. We firmly attach the lower frame to the frame.
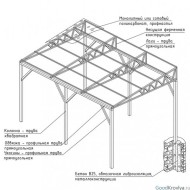
- We install vertical posts of the future structure in the corners and in the projected places along the length and width of the lower frame. We make the lengths of the racks in different sizes, which will allow you to withstand the required roof slope.
- With the help of lamellar metal corners, we attach the supports to the lower strapping. If necessary, fix the racks with spacers.
- We connect the supports in the upper part with a frame, which we set horizontally for the rigidity of fastening the entire structure of the beams.
The supports are assembled and secured. We proceed to the next stage of the work.
Roof
A large number of modern roofing materials makes you think before choosing. For a small design, any of them will do. After determining the finishing material, we will continue to work:
- We use vertical supports as racks of a single-slope rafter system. The upper frame of the future building will perform the function of the lower support of the roof structure.
- We cut out the rafters and intermediate racks from a bar with a section of 80x30 or 70x30 mm.
- We will mount the frame of the truss system on the supports of the future building.
- We will sew the frame with a shalevka or OSB boards.
- We carry out the final covering with a pre-selected roofing material.
An important detail is the fastening of the roof finishing materials. When using glue, we will use the instructions and follow all the instructions.
Fastening with nails requires a more careful approach. An incorrectly driven (crooked) nail can cause leakage. At the same time, the nails themselves are used special - roofing. Other fasteners may not be able to withstand the required loads.
Arrangement
After the construction of the gazebo and wall cladding, we proceed to its design in the style inherent in a country house or plot. The location of semi-antique lamps on the vertical supports of the building will emphasize the conservatism of the design.
Installing carved furniture and individual decorative elements in the form of candelabra will add coziness to the rustic style. Hanging curtains in light shades and the use of LED ceiling lighting will enhance the emphasis on the Art Nouveau style, which can be used in the design of the building.
The construction of a gazebo with a pitched roof is not so difficult. Any summer resident is able to do such a job. By inviting friends to a ready-made building, you will appreciate the comfort and coziness that you managed to create with your own hands.

