Density and scheme of planting tomatoes in the greenhouse
Pick-up location
The initial stage of planting seedlings of your future tomatoes is to prepare the greenhouse itself, the planting site for vegetables and seedlings. Many novice greenhouses do not seriously approach the critical stage of preparation, although it depends on it how quickly fragile seedlings can adapt to the artificially created conditions for greenhouses, and what the expected tomato harvest will be in the future.
Therefore, already 10 days after the start of planting seedlings in a greenhouse, the soil should be disinfected, since most of the pathogens prefer to be in it. First, you need to remove the top layer of earth 10 cm, and treat the rest with a well-proven solution of the well-known copper sulfate - for its manufacture, a tablespoon is taken for 10 liters of water.
Experts advise against planting tomatoes in one place for several years in a row.
After you have disinfected the soil, it should be loosened, unnecessary weeds removed, and then fertilized. Most often, for these purposes, it is customary to use about 8 kg of humus, adding a glass of charcoal to it. With such a mixture, it is necessary to feed the future seedling planting site. Instead of such a mixture, you can also use a bucket of coarse sand or expanded clay per square meter of soil. Loamy or sandy loam soil is best suited for tomatoes. Tomato seedlings must be planted in a heated soil - the temperature at this moment at a depth of 15 cm should not be lower than 14 degrees. To achieve this effect, the soil is preliminarily covered with a black film.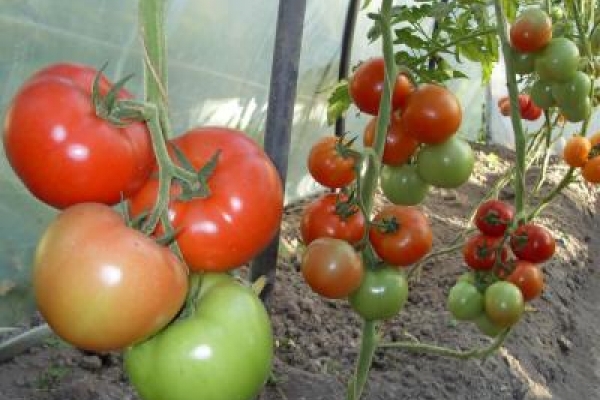
It is also permissible to pour warm water directly into the holes before planting. Thanks to the heated beds, planting tomatoes becomes possible several weeks earlier than generally accepted norms, and inside the greenhouse, the microclimate necessary for the harmonious growth and development of vegetable crops is achieved. Immediately before planting tomatoes, the soil must be watered with a solution of the well-known potassium permanganate, which has a temperature of about 50 - 60 degrees. Such a solution is prepared at the rate of 1 g of potassium permanganate per 10 liters of water. As for the greenhouse itself, it will need to be covered with another layer of dense film in order to make additional insulation and provide reliable protection to the inner layer of the material, extending the term of its operation.
Scheme, density, distance
As for the optimal size of the holes planned for planting, a lot depends on the variety of tomato seedlings that you choose for your greenhouse. According to generally accepted standards, for low-growing tomato species, it is necessary to plan holes of about 20 cm, and for tall ones - 30 cm each.You should not be surprised that the holes begin to be prepared even a week before the planting of the seedlings, because, as mentioned above, they must be placed in the warmed-up soil so that your seedlings do not start to hurt and, as a result, do not die.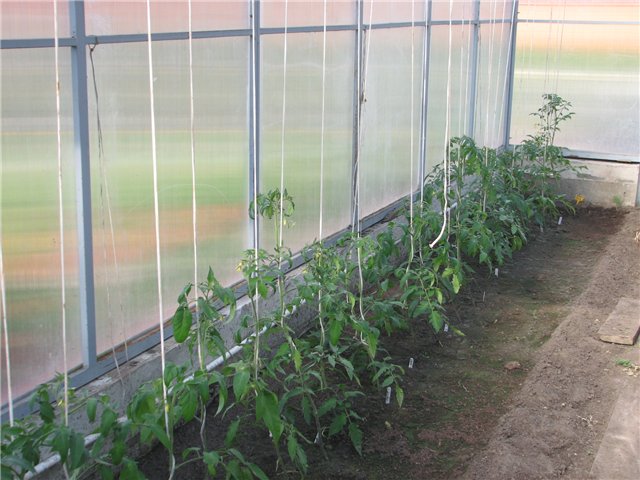
Before planting, the seedlings are hardened (two weeks before planting in the greenhouse) and processed in order to protect them from pests. This should be done five days before the moment of planting in the ground using a boric acid solution. A couple of days before planting, you should also cut off the lower leaves of vegetables. It is unacceptable to plant seedlings too deep so that they do not go to the root. The seedlings should be placed vertically and covered with prepared soil mixture at a level that matches the level of the groove in the seedling box, but in the event that they are not too elongated yet. If you have already managed to stretch out, then the stem is not buried in the soil. Also, you cannot add too much fertilizer to the soil, because if you overdo it and put them in each hole, you can end up with not bushes with tomatoes, but a large green tree.
Planting tomatoes is recommended in the evening on a cloudy day and in a soil pre-moistened to the desired state. First, holes are made about 12 cm deep, in each of them another hole is also formed. After that, we install a pot with a seedling and sprinkle it with earth. The second hole will need to be filled up 10 to 12 days after the culture has taken root. This applies to overgrown seedlings, seedlings of normal length are moved into the ground without pots. Before this, each of them is carefully examined for damage, then warm water is poured into the hole and the plant is planted.
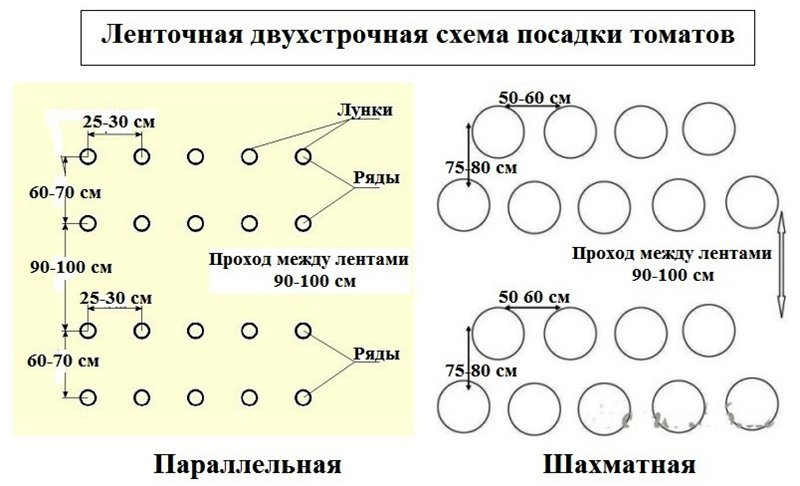
The density of planting future tomatoes in the ground should be as follows - undersized varieties, which are usually formed into several stems, are planted in the well-known checkerboard planting pattern in two rows. According to the rules, the distance between the rows should be 50 - 60 cm, and between the crops themselves - about 40 cm.Standard and determinant varieties of tomatoes, which will form into one stem, can be planted a little denser - make a distance of about 50 cm between rows, and between plants - 35 - 40 cm.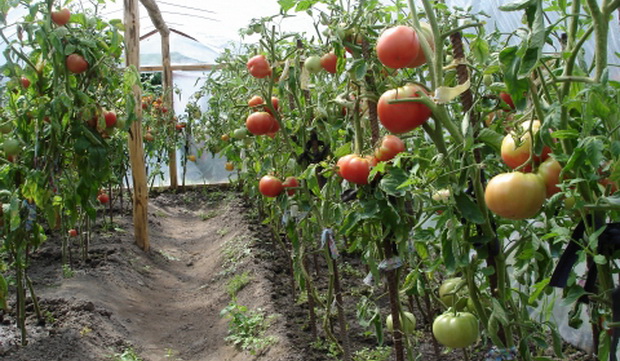
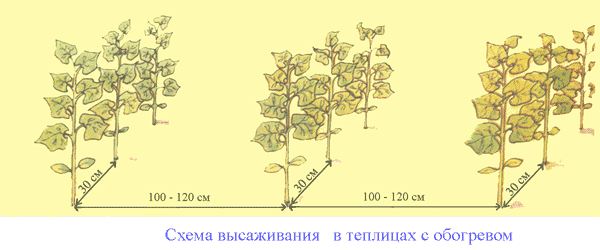
As for indeterminate species, they are not planted so densely, the distance in the row spacing should be about 40 cm, between the bushes - about 70 cm, and the path that separates the rows should be 100 cm long.This planting scheme is called a ribbon-nesting or multi-line , since 2 - 3 rows of landings form, as it were, a line or ribbon. The square-nested or square method of planting is also often used - at the intersection of the markers' track, made in advance, from one (square method) to two - four (square-nested or parallel method) tomatoes are planted. To summarize all of the above, the planting density should ideally be such that each of them does not experience discomfort, receives enough sunlight, nutrients from the soil and can develop normally in the area allotted to it.
Video "Recommendations for planting tomatoes"
On the recording, the grower talks about growing tomatoes, the necessary growing conditions and the planting technique.

